Git
Working in the shell / terminal
To use git, we will have to use the shell, which is why we are going to spend a few word on the shell first.
The shell is a program on your computer whose job is to run other programs. It looks very much like the R-console (in the bottom left of RStudio) that you are already know: You have a place to input text which is transferred to (and interpreted by) the computer when you press “enter”. RStudio has a shell terminal right next to the R-console (tab Terminal).
Every Windows comes with two different shell installations: “Command prompt” and “PowerShell”. After installing Git we now have a third option, “Git Bash”. Let’s configure RStudio to use “Git Bash” as the default shell. Go to Tools → Global options → Terminal and set option “New terminals open with” to “Git Bash”.
Introduce yourself to Git
Typically, you do this once (per computer)
Use the terminal in RStudio to introduce yourself:
git config --global user.name "Maria Nusslinger"   # proper name or a pseudonym
git config --global user.email "nussmar@email.com" # your (student) mailadress
Replace the name and email with your credentials. Use the email address that you used to create your GitHub account (see Create a Github account) . We propose using your student mail address, you can always change this later.
If you have multiple GitHub accounts (see Note 11.1) and you know that the laptop you are currently using is only for student work, you can set your user.email to your student mailadress. However, if you expect to work with both GitHub accounts with your current laptop, you have to set user.email on a per project basis (by omitting the --global flag).
Please feel free to contact us if you have questions about this.
Initialize Git Version Control
Open the RStudio-project from last week (Exercise A). Initialize Git Version control on this project by opening the terminal and typing the following:
git initNow restart RStudio.
Tracking changes with git (via the GUI)
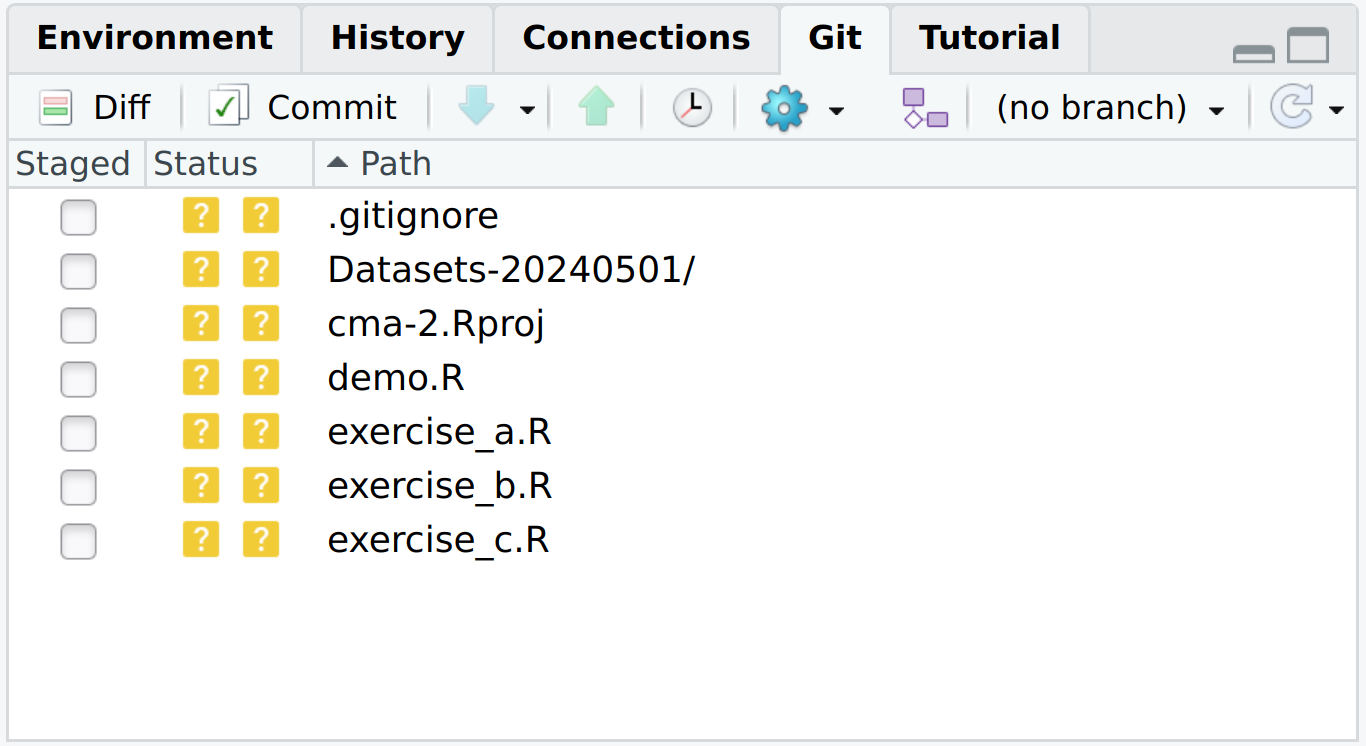
In the Git panel of RStudio, you should now see all files of your project (see Figure 12.1 (a)). In future, you will only see the files with changes. This panel is the built in interface to git for RStudio. It’s not great, but ok to get us started.
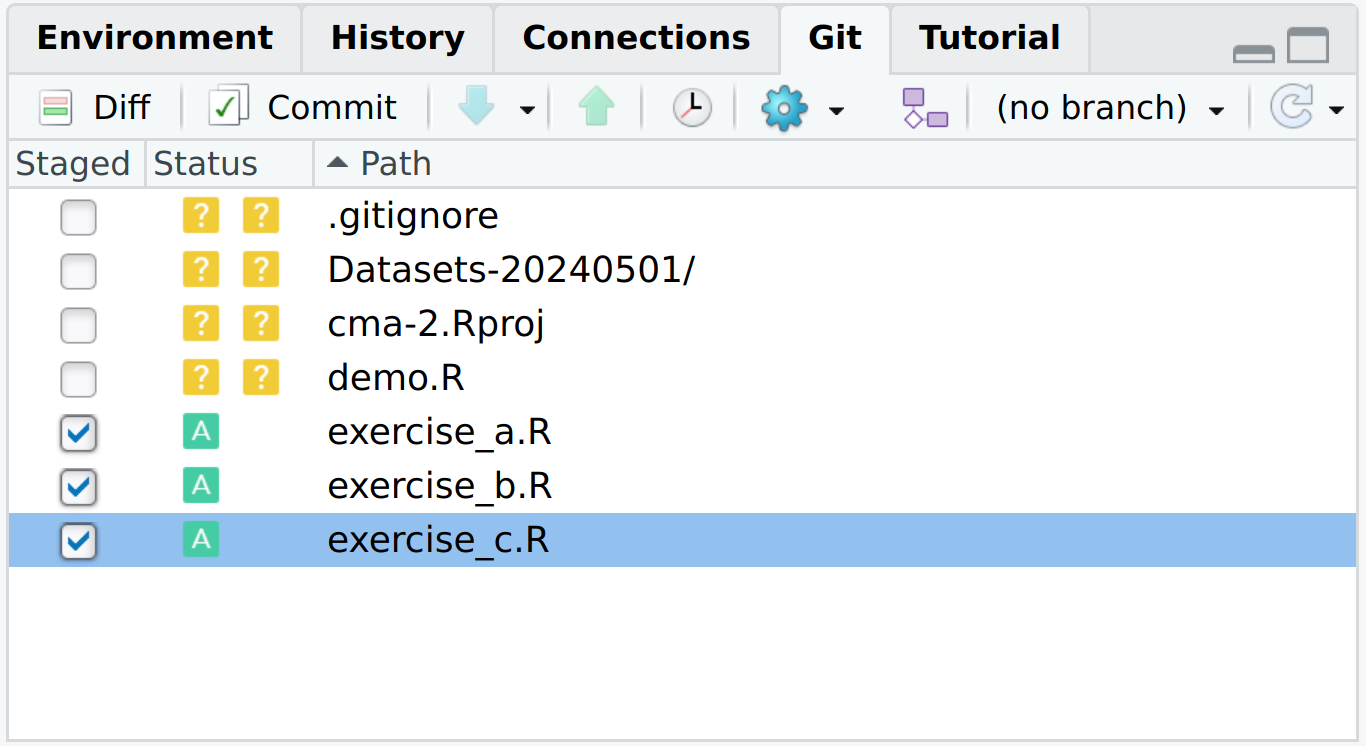
- Select your RScripts by checking the checkbox ☑ in the column staged, see Figure 12.1 (b). This is the equivalent of adding a file to your upcoming commit.
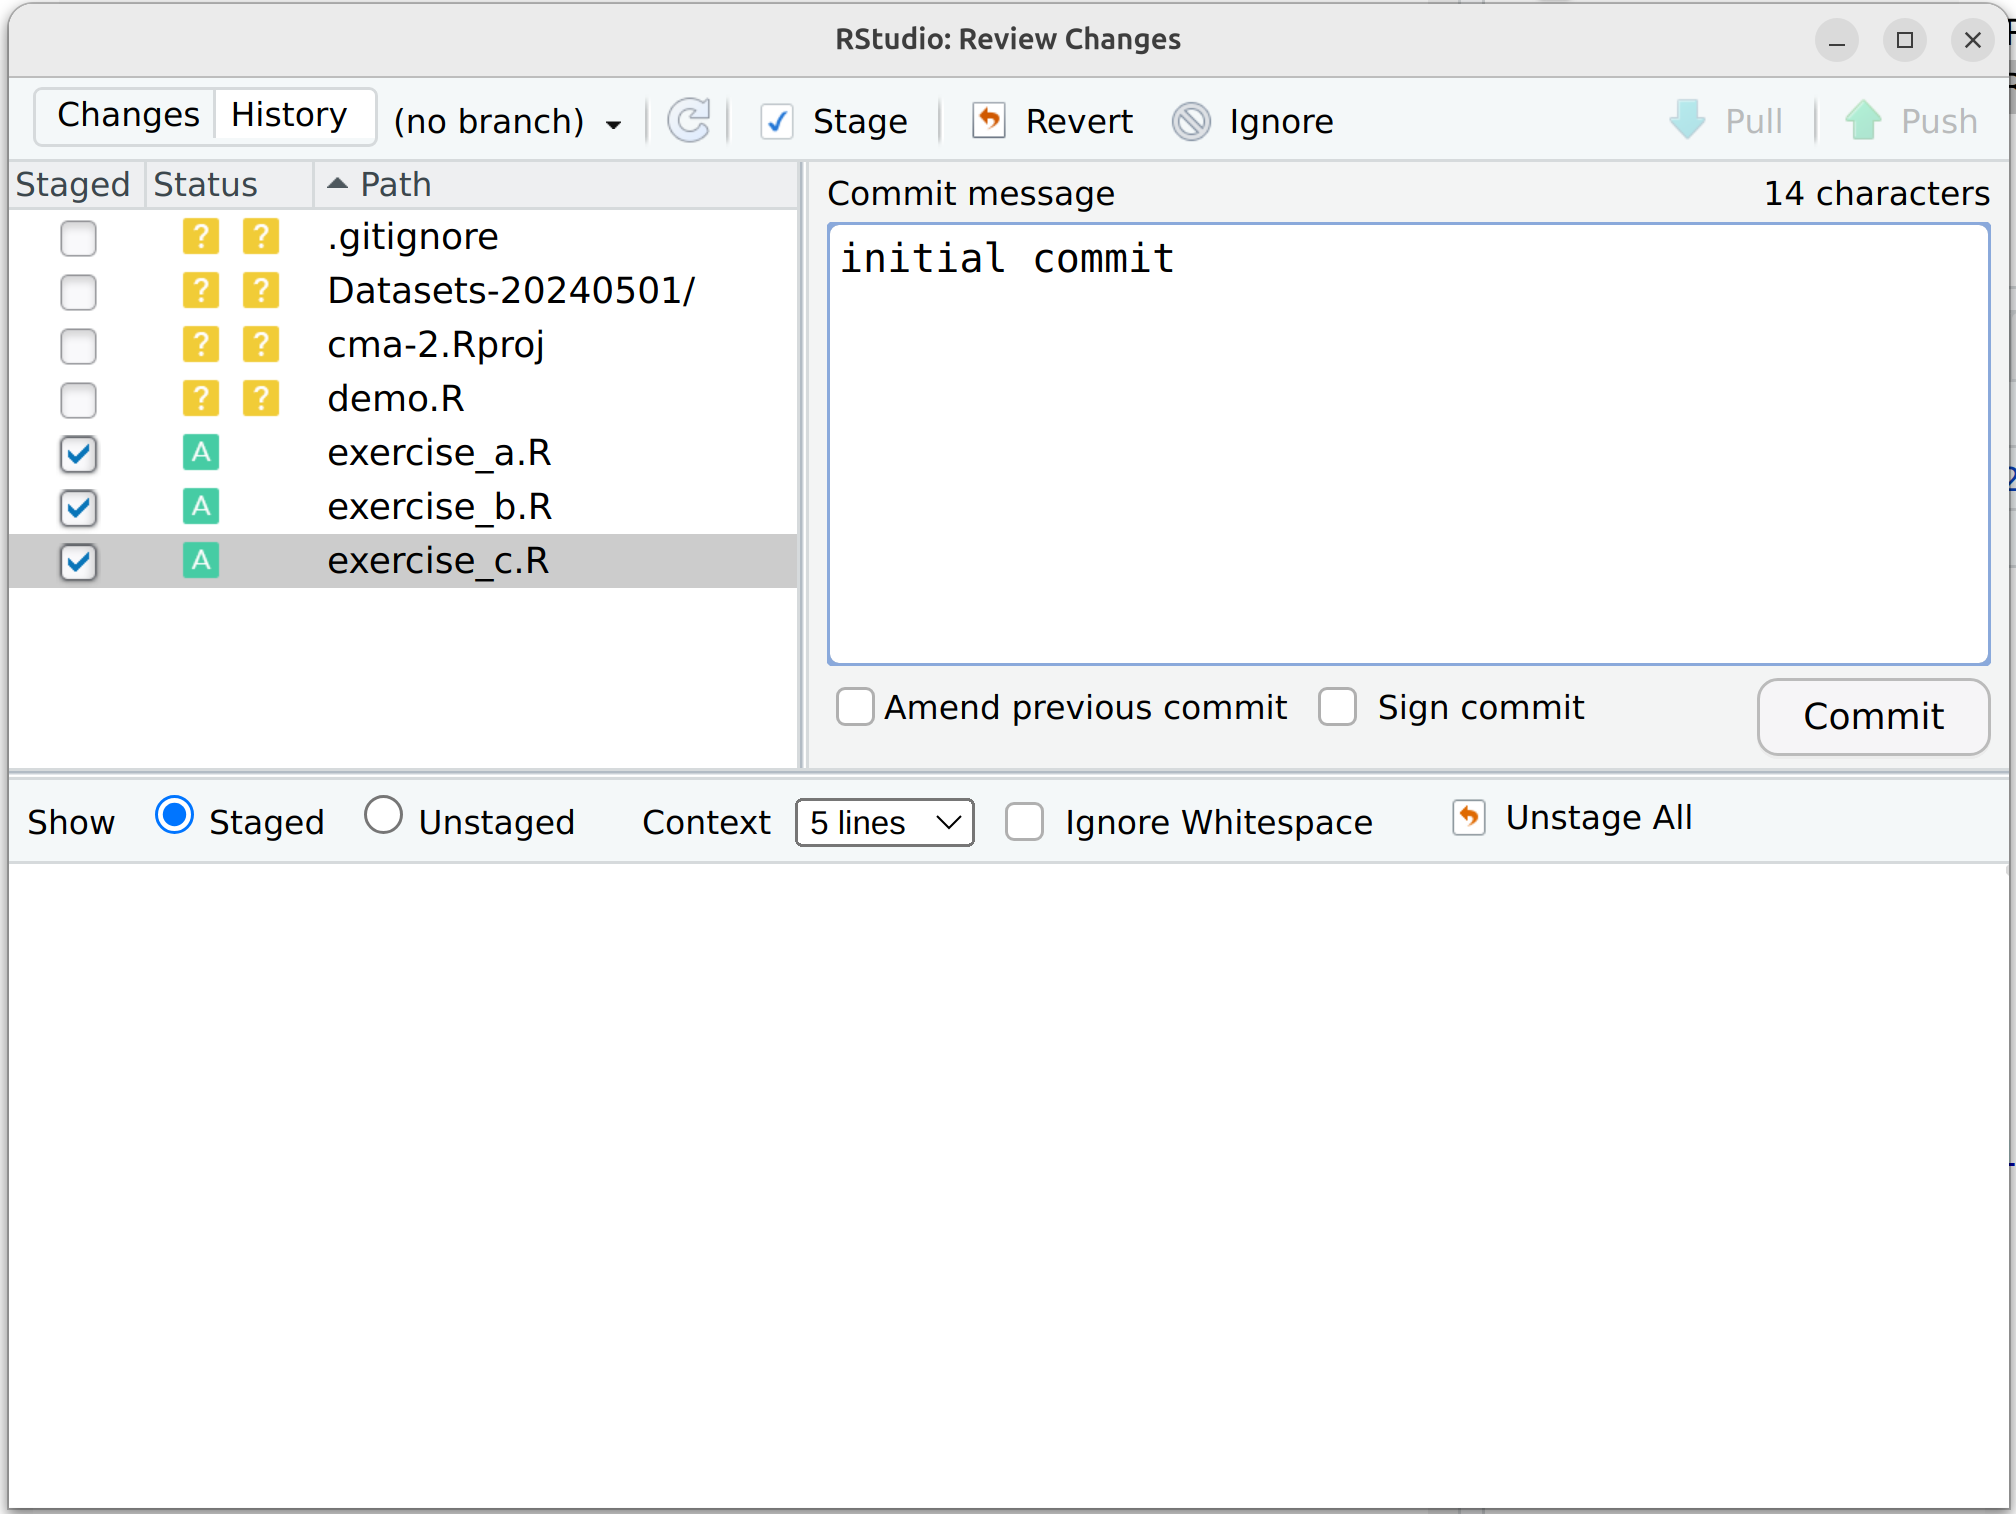
- Click on the Button ☑ Commit. This will open a popup where we are asked to add a commit message, see Figure 12.1 (c).
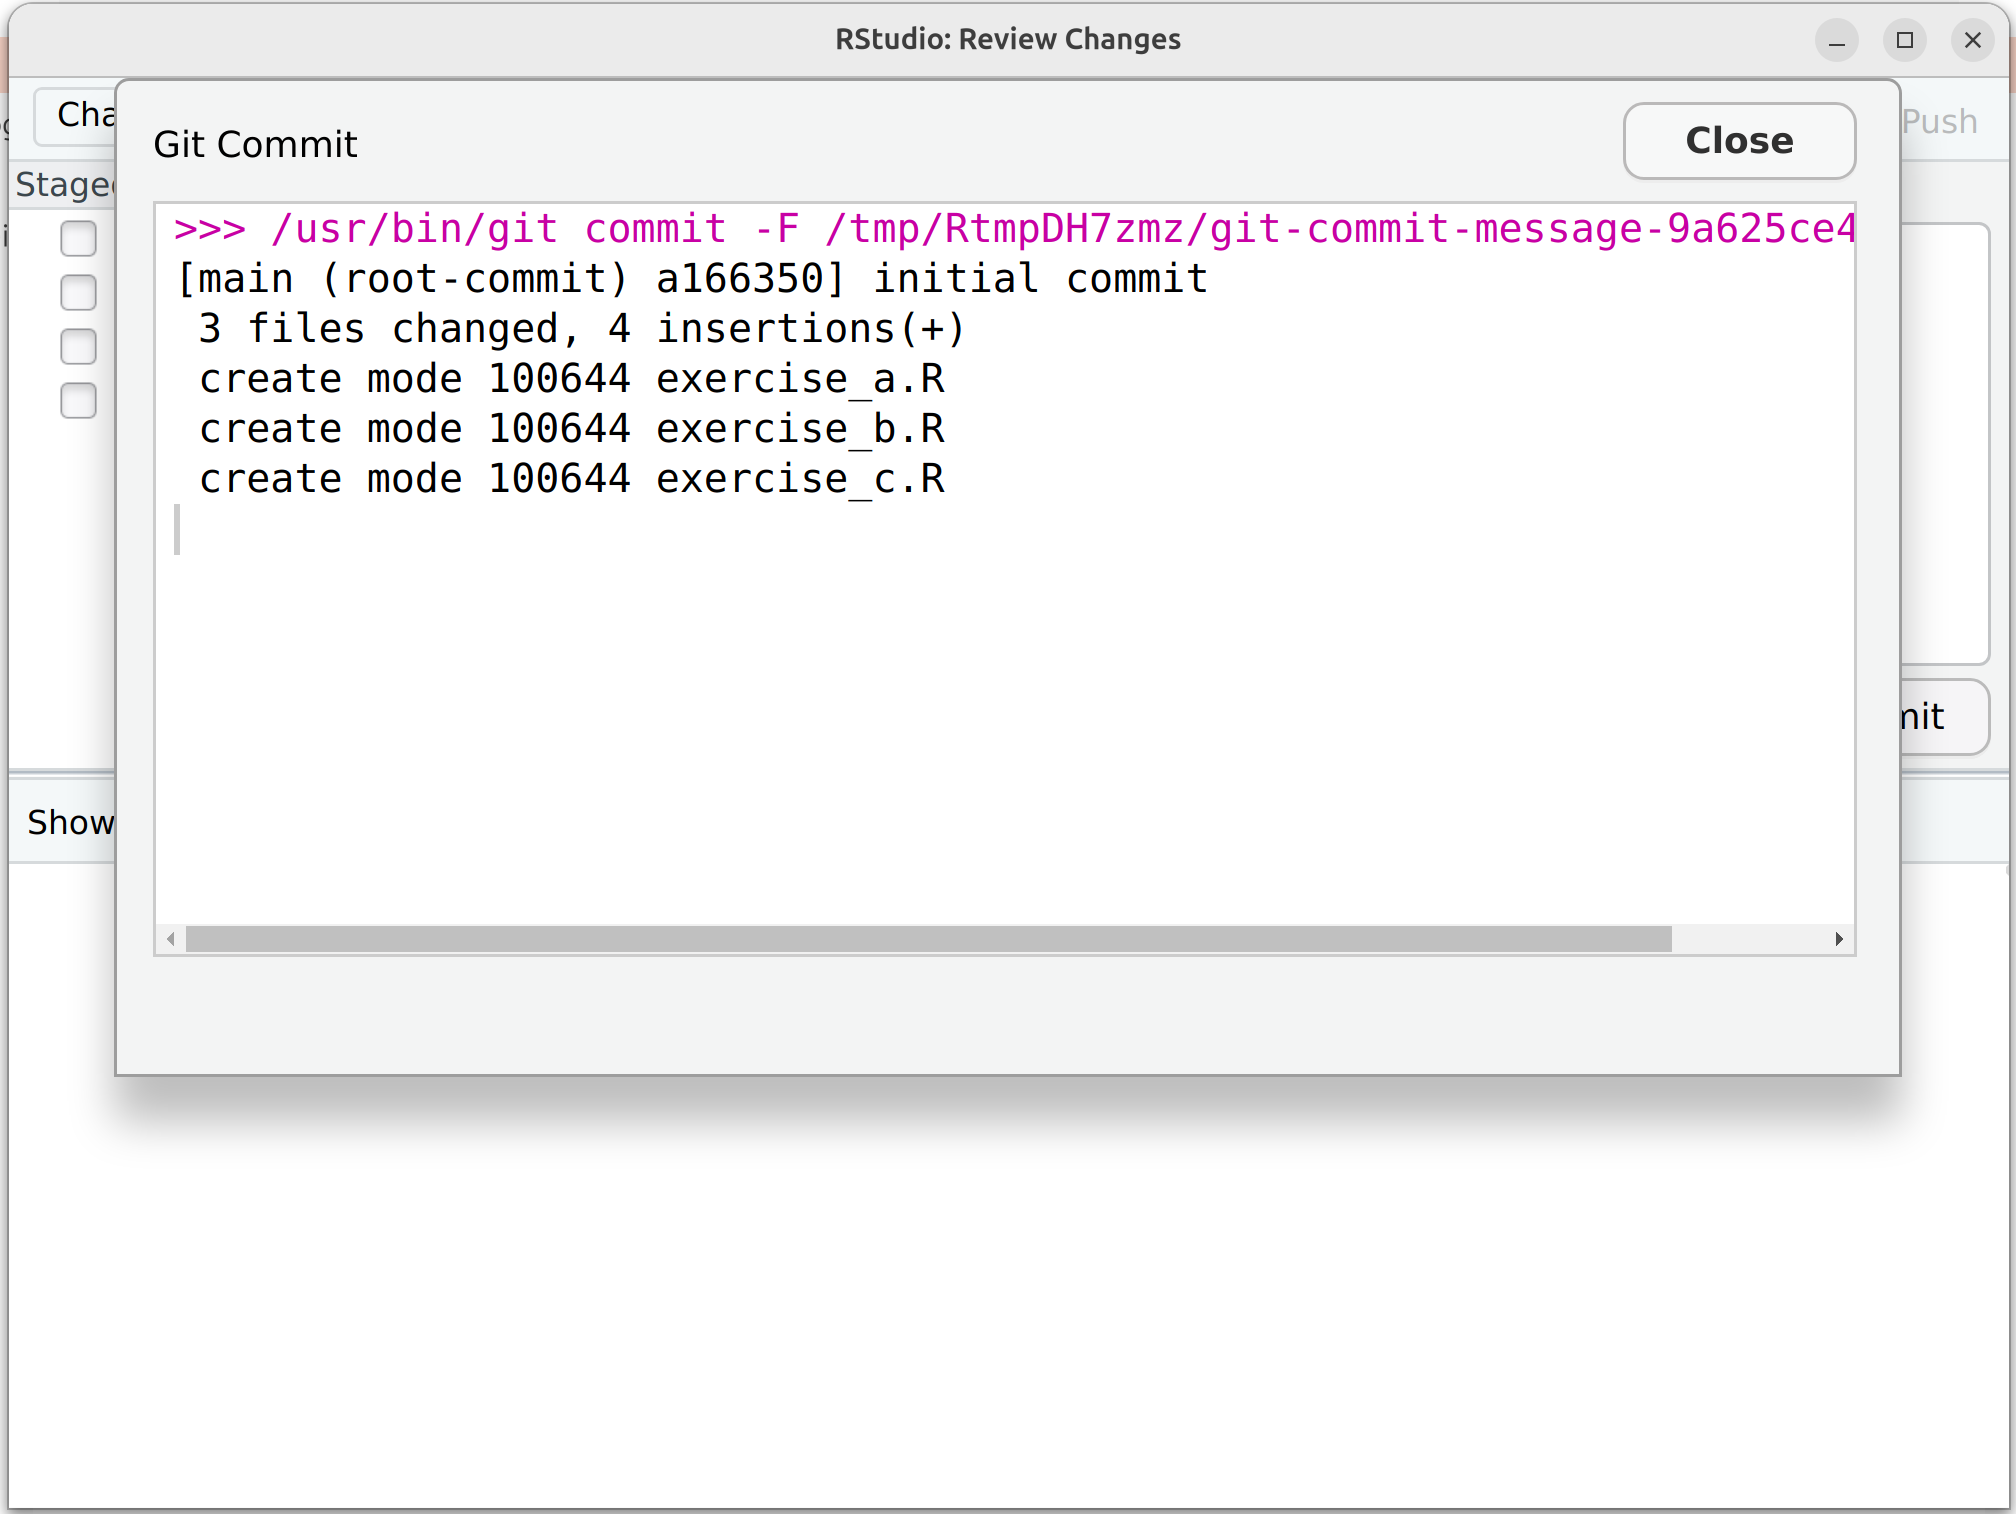
- Write your commit message, and click on commit again. This will show an obscure message, see Figure 12.1 (d), which we can close by clicking on the according button. Close the git popup as well.
Tracking changes with git (via the terminal)
Git was originally designed to be used via the terminal. Rstudio’s Graphical Interface to git just translates your clicks into terminal commands. Let’s do the steps above in the shell.
git status                                   # get an overview
git add cma-2.Rproj                          # equivalent of clicking the checkbox
Now refresh your git panel. You should see that the file cma-2.Rproj is selected (☑). You can commit the file with a commit message using the following command.
git commit -m "committing the project file" # committing with a messageRefresh your git panel again: cma-2.Rproj has now dissappeared from the list.
View your commit history
You can view your commit history by clicking on the little ⏰-symbol in the git panel.
Ignoring files
Some of the files in the repository are too large to be tracked via git. To make sure that git ignores these, we can add them to a textfile with the name .gitignore. You should already have such a file in your projects root folder. If this is not the case you can create one by clicking on File → New File → Text File and then saving this file in the root directory of your project with the name .gitignore (note the period!).
Append the following line to your .gitignore File:
*.tifNow, all files with the extension .tif are ignored in your repo. You might also want to remove your personal movement data from being tracked with git (unless you don’t mind your data being publicly visible). You have several possibilites for this.
- 1
- ignores all files within the folder “data”
- 2
- ignores the file “garmin-export”
Now, let’s connect our local repository to GitHub (Connect your local repo with the remote repository). But before we can do this, we need to authenticate git to work with our GitHub account (Authenticate Git to work with Github) and then create a repo on GitHub (Create a repo on GitHub repo).